Last updated November 20, 2026
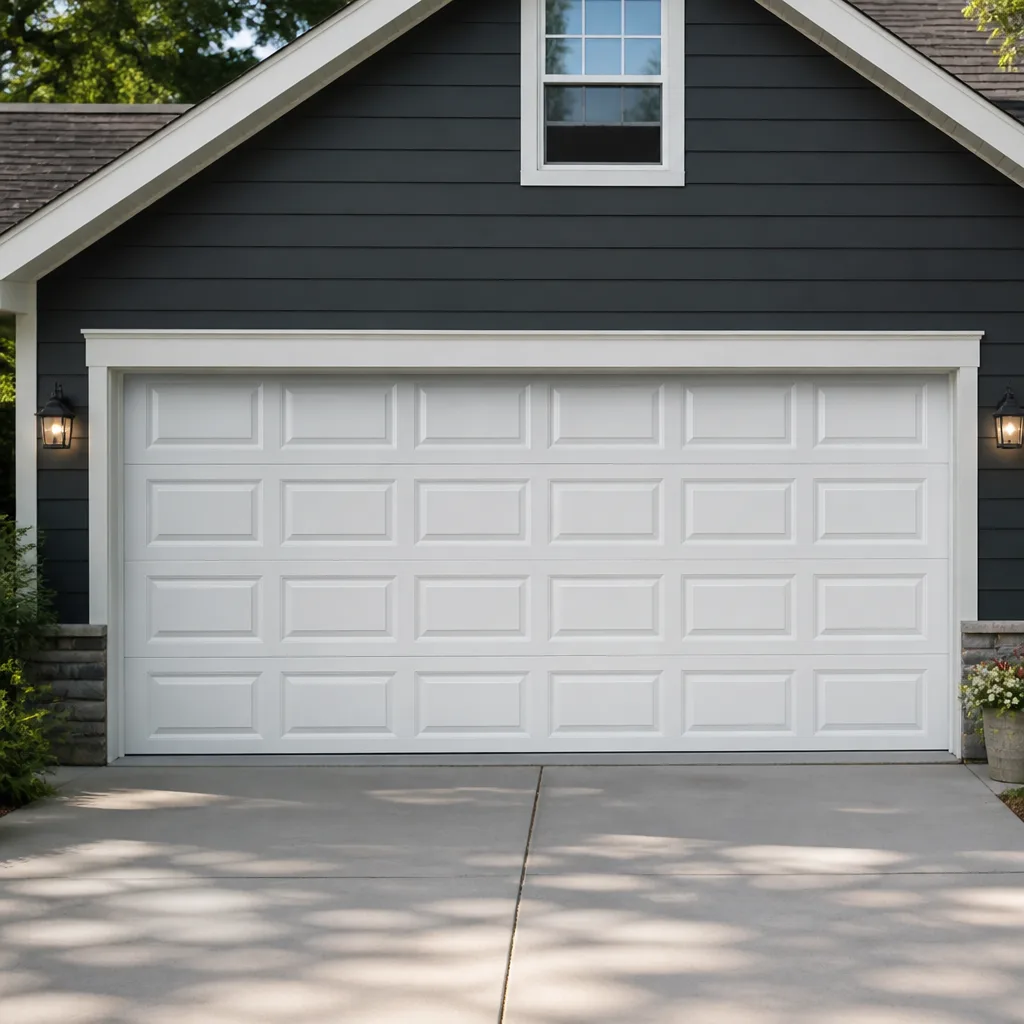 Raised-panel steel
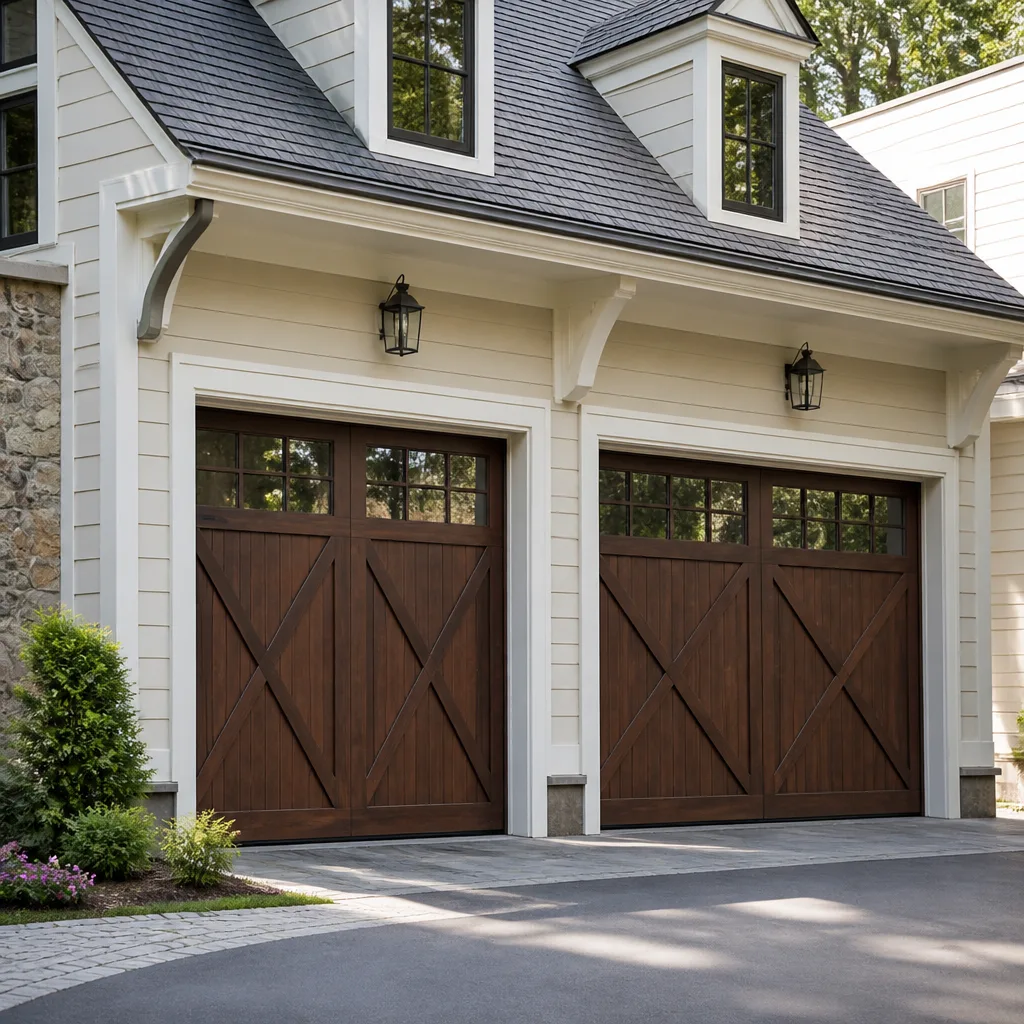 Carriage house
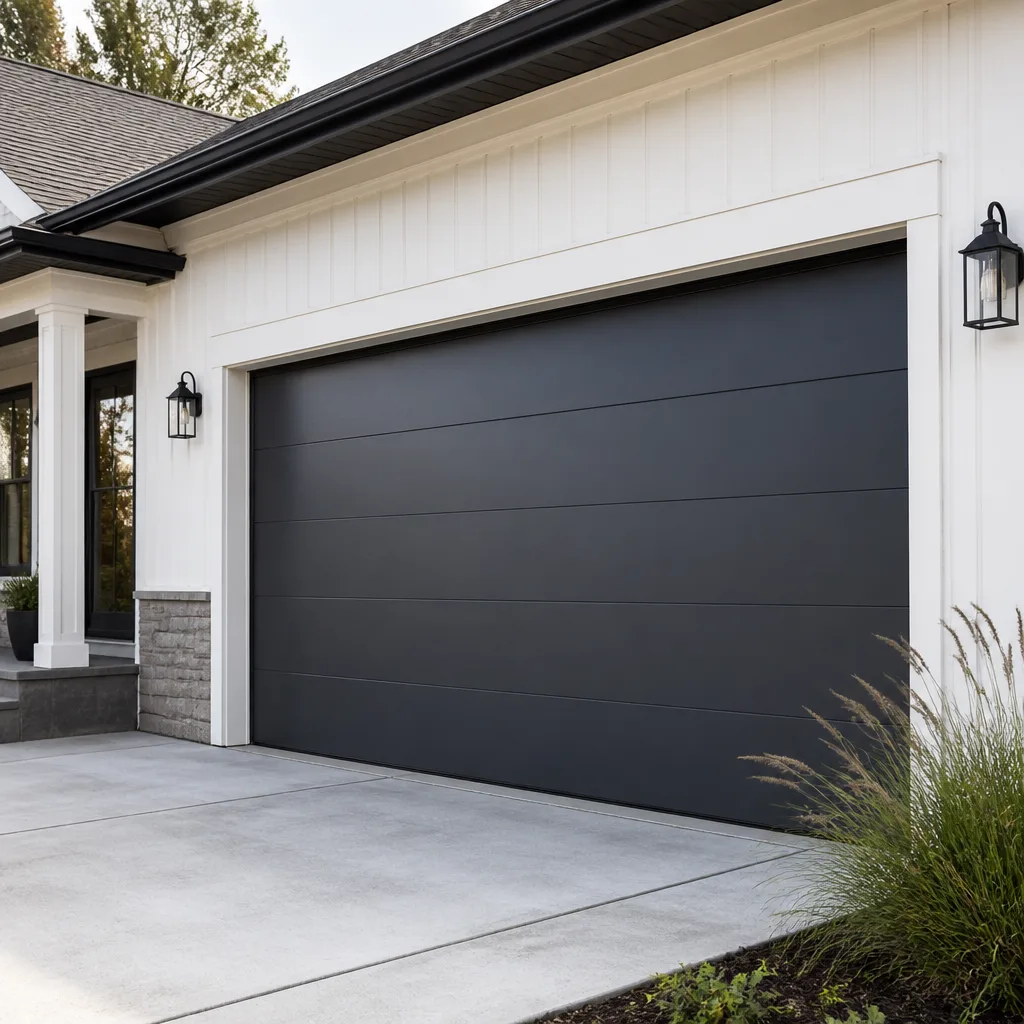 Modern flush
 Full-view glass
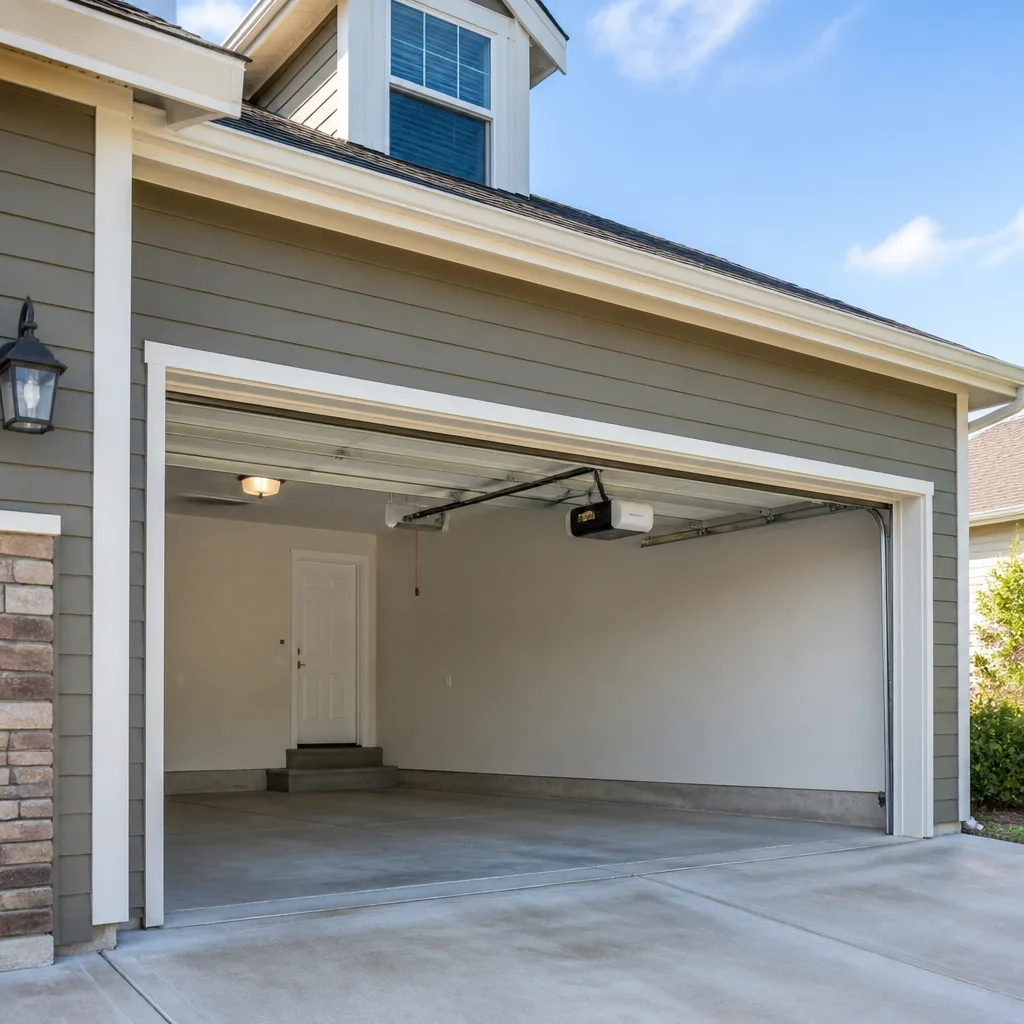 LiftMaster openers
 Chamberlain openers
Full 25-point door and opener safety check with every visit - springs, cables, rollers, tracks, and your LiftMaster or Chamberlain opener included
You get a price before we start. It does not change when the pro arrives.
Get your free estimateGarage Door Repair Maintenance Checklist for Issaquah Homeowners
The service call we get most often in wet climates isn’t a snapped spring. It’s a bottom seal that looked fine from the driveway for three or four rainy seasons, quietly letting water wick into the bottom section until the cable drum corroded and the door jumped its track. Issaquah sits in a rain belt where the wet months do most of the damage, which means a maintenance checklist built around “once a year” misses the point. What matters is when each task runs, timed to the weather rather than to the calendar. In this guide we walk through a sequenced checklist you can realistically do yourself, the signs that tell you a part is close to failing, and the handful of jobs where a technician’s load test and measuring tools are the only honest answer.
Quick Answer
An effective garage door maintenance checklist for Issaquah homeowners sequences tasks around the wet season: inspect and reseal the bottom weatherstrip before the fall rains, lubricate hinges, rollers and the torsion hardware in late fall, test the opener’s force limit and safety reverse monthly, and watch springs for stretch and sag through the winter. Anything involving springs, cables or the torsion assembly is a technician job, not a homeowner task.
Styles & brands we work with
- Raised-panel steel
- Carriage house
- Modern flush
- Full-view glass
- LiftMaster openers
- Chamberlain openers
Table of Contents
- Why Timing Beats the Calendar: An Issaquah Seasonal Rhythm
- The Pre-Rainy-Season Seal Inspection Protocol
- How to Test Spring Health Safely (Without Tools)
- Lubrication Points Most Homeowners Miss
- The Opener Force-Limit Self-Test
- What a DIY Checklist Catches vs. What Needs a Technician
- Matching Maintenance to Your Door and Opener Brand
- Common Mistakes to Avoid
- When to Call a Professional
- Frequently Asked Questions
Why Timing Beats the Calendar: An Issaquah Seasonal Rhythm
A generic checklist tells you to inspect your door “annually.” In Issaquah, the timing of that inspection matters more than the interval. The Puget Sound region’s wet season runs roughly from October through April, and the months that follow are when the damage shows up: swollen bottom sections, rusted fasteners, and weatherstripping that has stiffened after sitting damp for months. If you inspect in July, you’ve inspected at the easiest point in the year and learned very little.
Here’s the rhythm we recommend for Issaquah, organized around the seasons rather than the calendar:
- Late summer (before the rains): Full seal and weatherstripping inspection, reseal or replace any failing caulk or gasket, clear tracks and debris.
- Early fall: Lubricate hinges, rollers, and torsion hardware with a garage-door-specific lubricant, not WD-40 and not grease.
- Mid-winter: Watch for sagging, listen for new noises, re-test the opener’s safety reverse after any change in weight.
- Early spring: Post-wet-season audit – check for rust, water intrusion at the bottom edges, and cable wear at the drum.
- Monthly, all year: Force-limit test, safety reverse test, visual spring check.
The neighborhoods that get the most benefit from this rhythm are the ones sitting close to Issaquah’s wetter microclimates – Issaquah Highlands, the Squak Mountain area, and the slope neighborhoods off Cougar Mountain where fog lingers and the ground stays saturated longer. Homes near Lake Sammamish get the same rain but often faster-drying wind, so a failing seal can hide longer there. The point is to look at your own door in the weeks before the rains return, not after the first leak.
If you’re already past the wet season and hearing something wrong, our garage door repair service covers the diagnostic side. But the real goal here is to catch it before it becomes a repair call.
The Pre-Rainy-Season Seal Inspection Protocol
The bottom weatherstripping is the part most likely to be “still there” but no longer doing its job. A seal can look intact from the driveway and still let water in through hairline gaps, a flattened lip, or a hardened curve at the door’s edges. “Still present” is not the test. Function is.
Run this protocol each late summer, before the rain returns. You don’t need tools beyond a flashlight and a piece of paper:
- The paper test: Close the door on a dollar bill (or any thin paper) at five points across the width – left edge, left quarter, center, right quarter, right edge. If the paper slides out easily at any point, the seal is failing there even if it looks fine.
- The lip check: Look at the bottom edge of the seal. A healthy seal has a flexible lip that flips back with finger pressure and springs to its shape. A stiff, flattened or cracked lip is done, even if the rest looks okay.
- The daylight check: Stand inside with the lights off and look for any sliver of daylight under the door. A hairline is normal; a visible line is a leak in the rain.
- The side and top seal: Weatherstripping runs around the sides and top too. Check the bottom corners where the bottom seal meets the side seal – that’s the first place water finds.
- The threshold: Look at the floor under the door for staining, bubbling paint or damp concrete. If the floor is dark exactly where the door lands, the seal has been passing water.
If any of these fail, the seal needs replacing before the wet season, and that’s a job worth scheduling in dry weather. Replacing a bottom seal is one of the cheaper parts of running a garage door in Issaquah – far cheaper than dealing with a corroded cable drum or a door that’s gone off-track because water worked its way into the bottom section and swelled it. A warped bottom panel is also the most common way a door stops closing evenly, and even the best opener – LiftMaster and Chamberlain units included – will trigger the safety reverse when the seal catches on the floor.
How to Test Spring Health Safely (Without Tools)
Springs do not fail without warning, and you can read the warning signs with your eyes and ears. The catch is that you cannot touch the springs themselves: torsion springs are under enormous tension and can cause severe injury if handled by anyone without the training and winding bars to do the work safely. So the “test” here is entirely observational. You look, you listen, and you leave the springs alone.
What a healthy spring looks like and sounds like, versus one within weeks or months of failure:
- Visual gap in a torsion spring: with the door fully closed and hands off, look at the coil. Any visible gap between the coils of a torsion spring is a sign of fatigue or breakage. A fully broken spring has an obvious offset – the coils separate and the spring may drop.
- Sagging extension springs: on a door with the older extension-spring setup (springs parallel to the track), a spring stretched past its original length, drooping, or hanging loose is close to failure. Never test an extension spring by pulling it or attaching anything to it – the wrong touch can send hardware across the garage.
- Noise: a stretched or fatigued spring will often make a “twang” or creak when the door opens or closes, or a popping sound at the start of travel. New, unexplained noise is a signal to stop using the door until a technician checks it.
- Lift effort: disconnect the opener (usually a red release cord) and lift the door halfway by hand. A balanced door stays where you leave it. If it’s heavy, drops, or slams back down, the spring system is either fatigued or misbalanced.
- Unusual wear on the drum and cables: look for fraying, birdcaging or rust at the cable ends near the drum. A failing spring puts stress on the cables too.
If you see any of the above, the door is safe to leave closed and unsafe to keep cycling. Our garage door spring repair covers both torsion and extension setups, but the key point is that spring replacement is a matched-pair job in most cases – if one spring has failed, the other on the same door is usually at the same wear point and should be replaced at the same time.
If you’ve made it this far and you’re now nervous about the spring, that’s the correct response. Do not try to adjust, wind or replace a torsion spring yourself. The spring is the one part of the garage door you should never learn by doing.
Lubrication Points Most Homeowners Miss
Lubrication is the task homeowners most often do too much of, or too little of, on the wrong parts. Here’s the split:
Lubricate these
- Hinges: every hinge pivot point, especially the hinges on the bottom two sections where they take the most load and the most damp air.
- Rollers: a drop of lubricant at the roller stem (not the nylon wheel itself – sealed nylon rollers don’t need it and greasing them attracts grit).
- Cable drum bearings: the bearings at the top of the door where the cables wind. This is one of the most-missed points. A dry drum squeals or grinds and accelerates cable wear.
- Torsion spring coils: a light film only, not a soak. The torsion shaft and bearing plates also need a thin coat.
- The opener rail and chain: a light application only, and follow the opener manufacturer’s guidance for your model – LiftMaster and Chamberlain, among others, specify which parts of the rail want lubrication and which don’t.
Do not lubricate these
- The tracks. This is the most common mistake. The door’s rollers should ride on clean, dry tracks. Grease in the track collects grit, hair and debris, which gums up the rollers and produces uneven travel.
- The bottom seal. Silicone spray can help a dry seal stay flexible, but grease on the seal attracts grit that erodes it faster.
- Nylon rollers on sealed bearings. Sealed means sealed. Adding lubricant just collects dirt.
The most missed point on any door is the hinge near the bottom section, because it’s the lowest to reach and wears fastest in a wet climate. The second most missed is the cable drum bearing, because it’s at the top and out of sight. If you only do two lubrication points this season, do those two.
The Opener Force-Limit Self-Test
Most homeowners have never run the force-limit test on their opener, and it’s the single most useful thing you can do for opener safety. The test tells you whether the opener will correctly reverse if the door meets an obstruction – a person, a pet, a bicycle – or whether the opener is set too aggressively and would keep pushing.
The test is simple, and you do not need tools:
- Safety reverse test (monthly): place a roll of paper towels or a piece of 2×4 flat on the floor in the door’s path. Press the wall control to close. The door should strike the object and reverse within a couple of inches. If it does not reverse, or pushes down hard before reversing, the safety system needs adjustment.
- Photo-eye test (monthly): with the door closing, wave an object in front of the safety sensors at the bottom of the tracks. The door should reverse immediately. If nothing happens, the sensors are out of alignment or the wiring has a fault.
- Force-limit test (every couple of months): disconnect the door from the opener (pull the red release cord), then re-engage it and run the door by hand up and down a few inches to feel for binding. Reconnect the opener and run the door through a full open and close cycle. If the opener strains, stutters, or reverses unexpectedly in a spot where the door isn’t obstructed, the force limit is set too tight. If the door closes hard enough to dent on contact, the limit is set too loose.
- Manual release balance test (monthly): disconnect the opener and lift the door by hand. It should open with one hand and stay wherever you leave it. If it’s heavy or drops, the spring balance is off and the opener is being asked to do work it wasn’t designed for.
The force limit is accessible on most openers via a set of adjustment screws on the back of the motor housing. We don’t recommend adjusting it yourself beyond what the manufacturer’s manual specifies – a wrong setting can be the difference between a door that reverses on a child and one that doesn’t. If the test fails, our garage door opener repair team can set it correctly, and we work on LiftMaster, Chamberlain, Genie, Craftsman, and the rest of the openers you’re most likely to have.
What a DIY Checklist Catches vs. What Needs a Technician
A good homeowner checklist catches a lot. It doesn’t catch everything, and knowing the boundary is what keeps a small issue from becoming a dangerous one.
What a homeowner checklist realistically catches
- Failing seals and weatherstripping (paper test, daylight check)
- Visible spring fatigue, stretch or breakage (visual only – never touch)
- Opener safety reverse failure and force-limit problems
- Rust, debris in tracks, worn rollers, hinge noise
- Opener remote, keypad and wall control operation, including myQ and similar smart-home integrations on LiftMaster and Chamberlain units
- Door balance drift over time (the manual release test)
What requires a technician’s load test and measuring tools
- Spring tension measurement: springs need to be measured against the door’s specified lift, and the winding process requires the correct bars and training. A spring that “looks fine” can be 10% under-tensioned and on a failure curve.
- Cable tension and drum alignment: cables stretch slowly and unevenly, and a slightly off drum shows no visual sign until the door goes off-track.
- Track plumb and level: a track that’s a few degrees out of plumb binds the door slowly. Without a level and a tape measure you can’t see it.
- Panel and section alignment: the door’s panels need to be aligned across hinges that most homeowners can’t easily check without loosening the section.
- Opener drive train wear: gear, sprocket and bearing wear inside the opener isn’t visible from the outside until it fails.
If you’re not sure which side of the line something falls on, that’s the call. Our Issaquah Garage Door Repair Pros team can walk you through what a full inspection covers before you commit to anything – and if the door needs a replacement rather than a repair, a new installation is one call away with us, since we cover both repair and full install.
Matching Maintenance to Your Door and Opener Brand
Not every door and opener wants the same treatment. The maintenance checklist above is universal, but the specifics – which parts are sealed, which need a specific lubricant, which parts wear in a particular way – vary by brand. We’re factory-familiar with eight of the most common residential brands: LiftMaster, Chamberlain, Genie, Clopay, Amarr, Wayne Dalton, Craftsman, and Raynor. Here’s what matters on a few of the ones you’re most likely to see in Issaquah:
- LiftMaster and Chamberlain openers: these often have smart-home integration through myQ. The maintenance implication is that the app will sometimes report a fault before the door visibly misbehaves – take the warning seriously rather than dismissing it as an app glitch.
- Genie openers: the Aladdin platform and older Genie units both benefit from the same force-limit test, but the travel-limit adjustment is on the motor housing in slightly different positions. Follow the model’s manual, not a generic video.
- Craftsman openers: many older Craftsman units are legacy models with parts that have been discontinued. Knowing what’s compatible before a part fails matters, and we work on both the legacy and newer Craftsman models.
- Raynor doors: Raynor’s section and hardware design varies significantly between commercial and residential lines. A general checklist is fine; a “one-size-fits-all” repair kit is not.
The practical advice is simple: keep the model number of your door and opener on a sticky note inside the garage. When something goes wrong, you save the twenty-minute phone call of guessing.
Common Mistakes to Avoid
- Judging the bottom seal by eye instead of by function. A seal that looks continuous can still pass water. Run the paper test each late summer, before the wet season, not after a puddle shows up.
- Greasing the tracks. Tracks should stay clean and dry. Grease in the track collects grit and causes the rollers to bind.
- Assuming one spring failure means you can replace just that one. Springs usually fail as a pair because they wear as a pair. Replacing one and leaving the other is a short path to a second repair call.
- Skipping the force-limit test because the door “seems to work.” The safety reverse is what protects children and pets. It can fail silently long after the door stopped making noise.
- Testing springs by hand or with tools. Never touch, wind, unwind, or adjust a torsion spring. This is where the emergency room visits come from, not the garage.
- Ignoring the app on a smart opener. LiftMaster myQ and Chamberlain units will often flag a problem – a binding door, a sensor misalignment – days before you notice it. Check the app once a month.
- Waiting for a seal to fail before replacing it in Issaquah. A worn bottom seal in a wet climate drives water into the bottom section, which swells the panel, throws off the balance and starts a slow process of warping and misfit. Replace it in dry weather, not after the damage is done.
When to Call a Professional
Call a professional if you see any of these: a broken or visibly sagging spring, a door that goes up unevenly or comes off-level, a cable that’s frayed or appears loose, a door that reverses on its own, an opener that strains or stalls, or a bottom seal that’s failed and the door is showing signs of water intrusion. Any of those can turn into a bigger and more dangerous problem if you keep running the door. Our technicians have up to 12 years of experience on spring, cable, opener and door work across the eight major brands, and Issaquah Garage Door Repair Pros offers free estimates in Issaquah – call (833) 754-9516. We also provide emergency garage door service for situations where a malfunctioning door is a security or safety risk, not just an inconvenience. The quote you agree to before work starts is the price you pay, so you know what you’re committing to.
Frequently Asked Questions
Do a full checklist at least twice a year – once in late summer before the wet season and once in early spring after it – plus the monthly tests: the force-limit and safety-reverse check. The wet season matters more than the calendar because that’s when seals, cables and bottom sections take the most wear in Issaquah. If you’re not sure what to check, call (833) 754-9516 and our team can walk you through it.
You can look at them, but you shouldn’t touch them. Visual inspection for a gap in the coil, sagging extension springs, or unusual noise is safe and useful. Any adjustment, winding, unwinding or replacement of a torsion spring should be done by a trained technician – the spring stores enough energy to cause serious injury. If you see a visible problem, leave the door closed and call us at (833) 754-9516.
Run the paper test: close the door on a dollar bill at five points across the width, and if the paper slides out easily at any point, the seal has failed there. Look also for a stiffened or flattened lip, visible daylight under the door, or dark staining on the floor where the door lands. If any of those show up, replace the seal before the rainy season rather than after. Call (833) 754-9516 for a free estimate on seal replacement.
Because someone lubricated it. Tracks should not be greased. If your track is greasy, clean it with a rag and a mild degreaser and leave it dry. The rollers and hinges are what want the lubricant, not the track. If the door is still binding after a clean, the rollers or hinges may need attention – call (833) 754-9516.
We’re factory-familiar with LiftMaster, Chamberlain, Genie, Clopay, Amarr, Wayne Dalton, Craftsman and Raynor. Our garage door opener repair team handles both legacy and smart-home-compatible models, and we also handle full replacements for any of the door brands listed. If you’re not sure whether your brand is covered, call (833) 754-9516 and we’ll confirm.
Sometimes, but not always. A regular checklist catches seal failure, spring fatigue, opener safety issues and hinge wear early, which is what keeps a door from needing replacement. What it can’t undo is a door that has already warped, a bottom panel that’s swollen from years of water intrusion, or a door that’s simply reached the end of its structural life. If we find that, we can install a replacement door in the same call rather than a repair. Call (833) 754-9516 for a free estimate on a replacement.
The Bottom Line
A maintenance checklist for an Issaquah garage door is not about ticking boxes once a year. It’s about reading the local weather and sequencing your checks so they happen in the weeks before the rains return, not after the damage has started. The items that catch the most problems are the ones most homeowners skip: the paper test on the bottom seal, the monthly force-limit check, and the two lubrication points – hinge near the bottom section, cable drum bearing – that everybody forgets. Leave the springs to a technician and leave the springs alone otherwise. Everything else on this checklist is doable, and if it’s not, call (833) 754-9516 for a free estimate and we’ll take it from there.
Written by the team at Issaquah Garage Door Repair Pros.
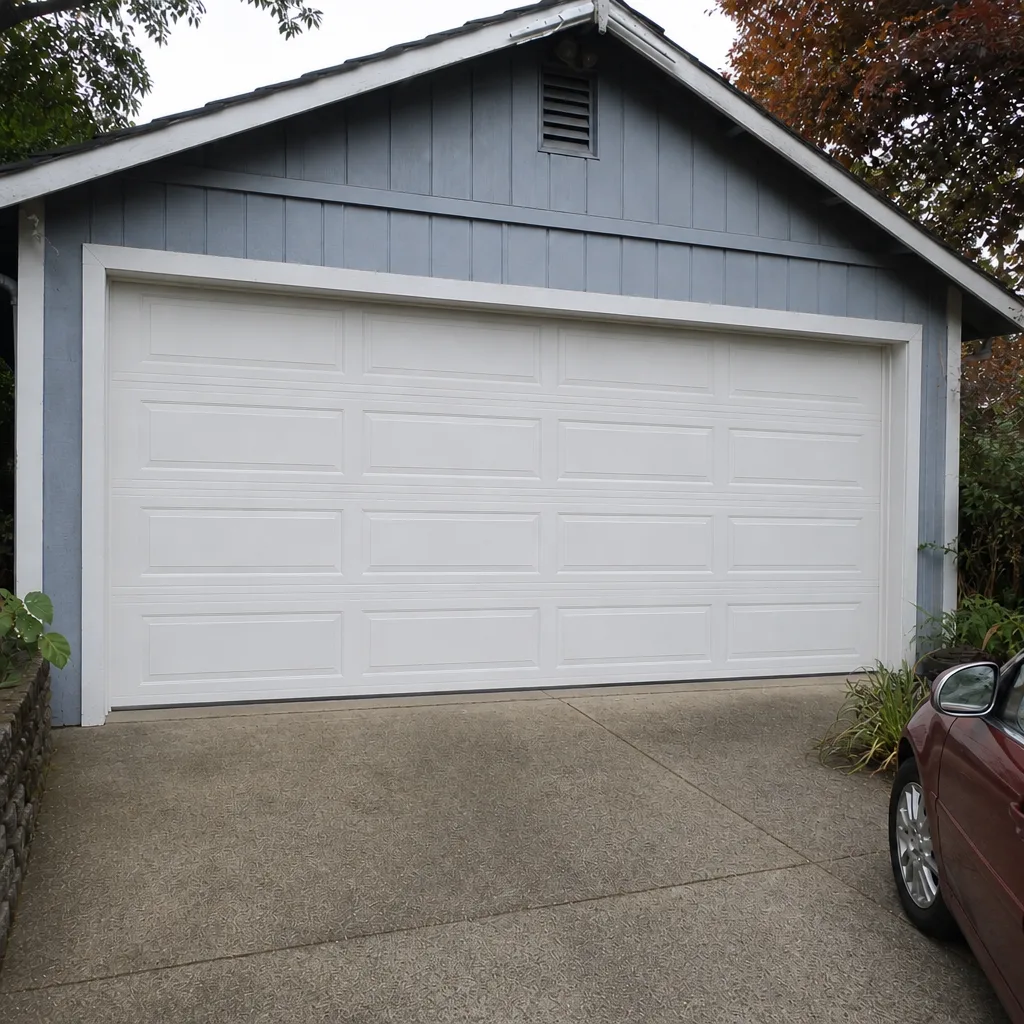
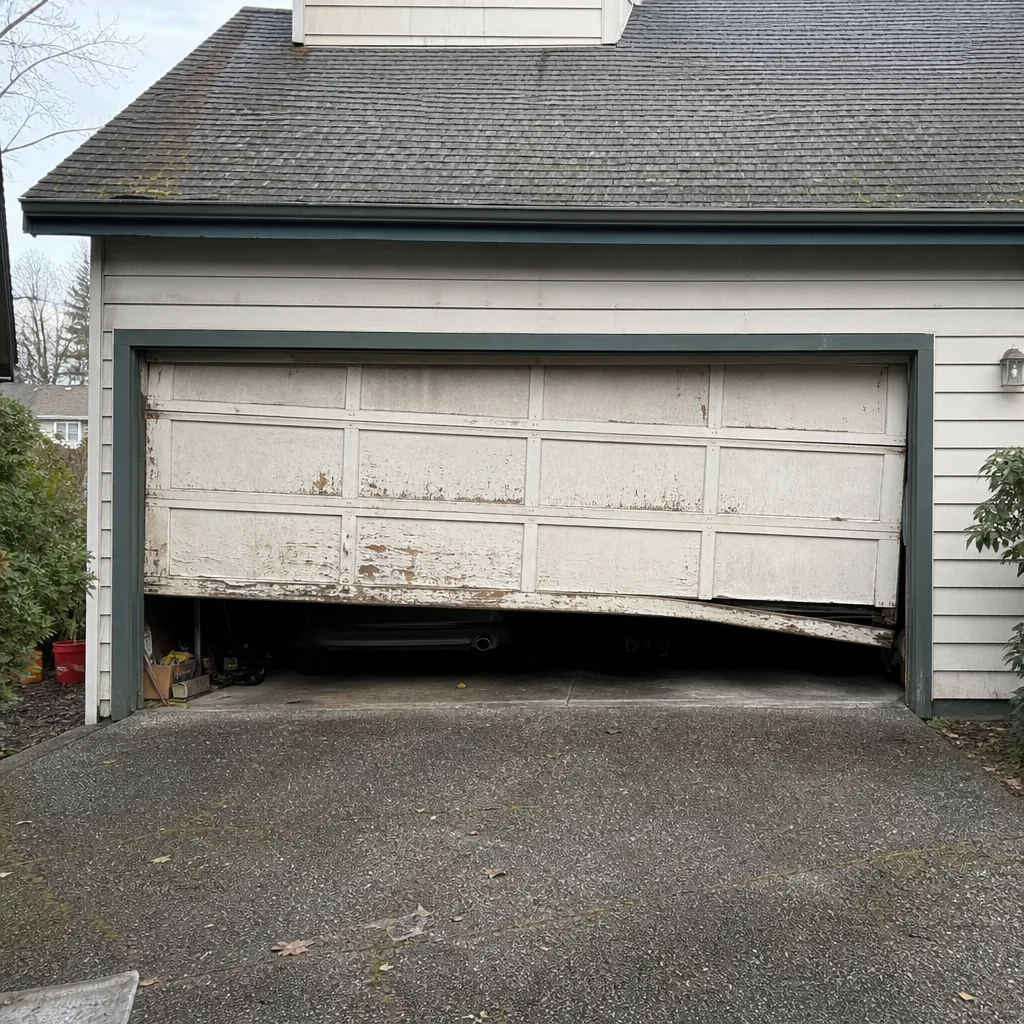
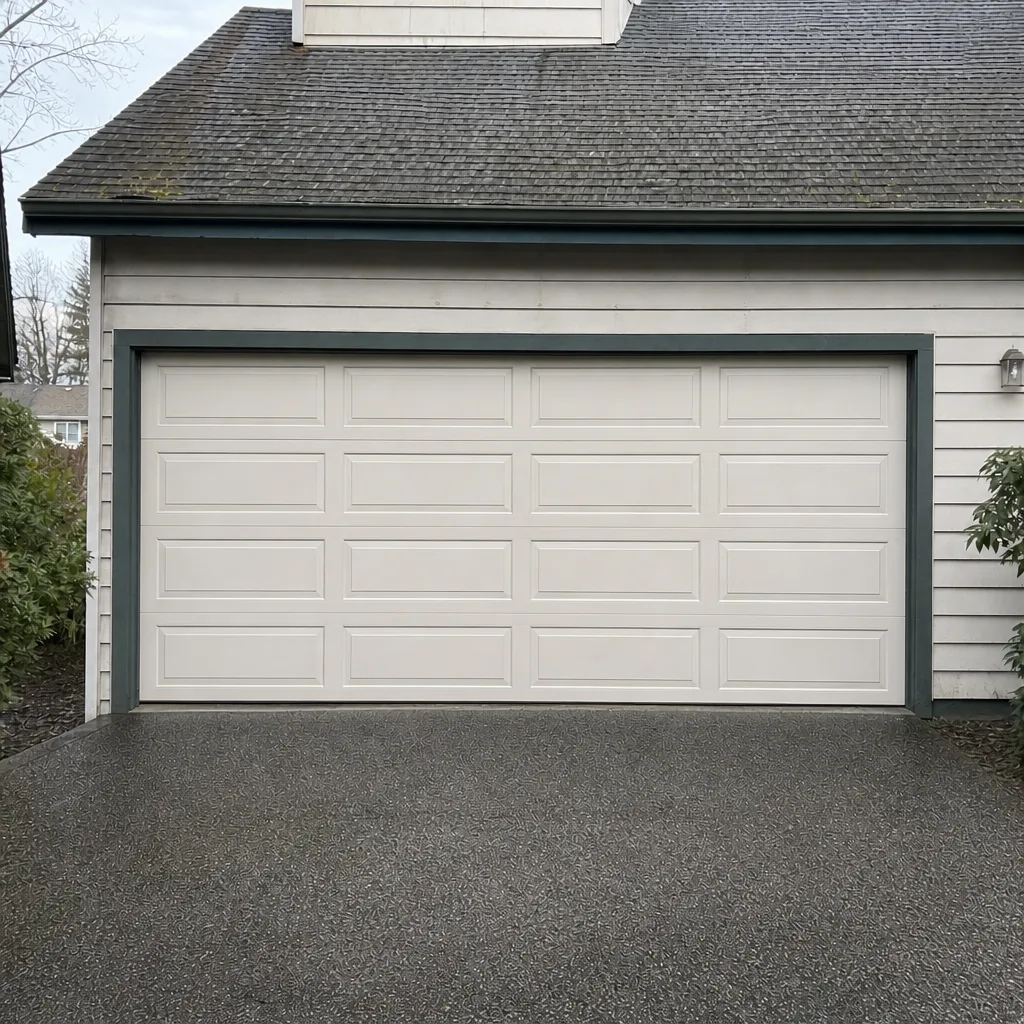
See the difference
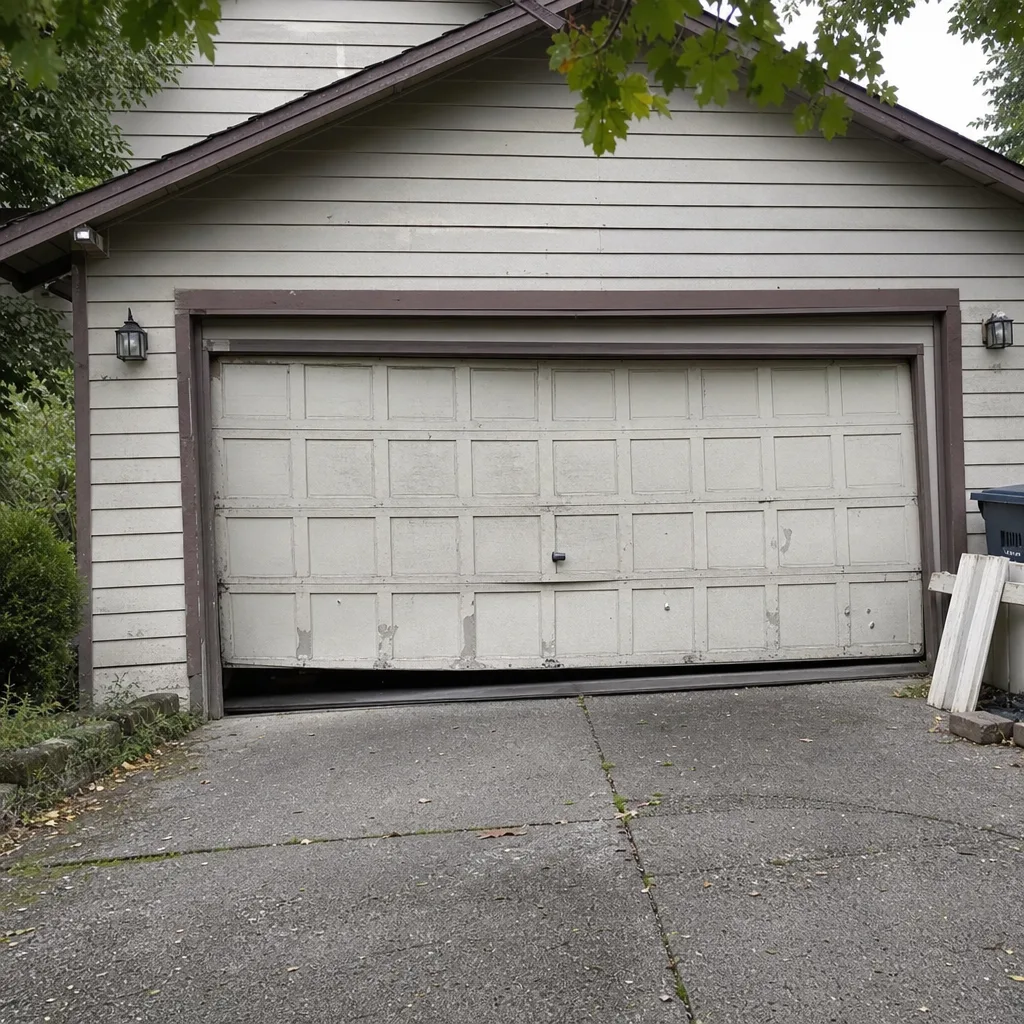 Before
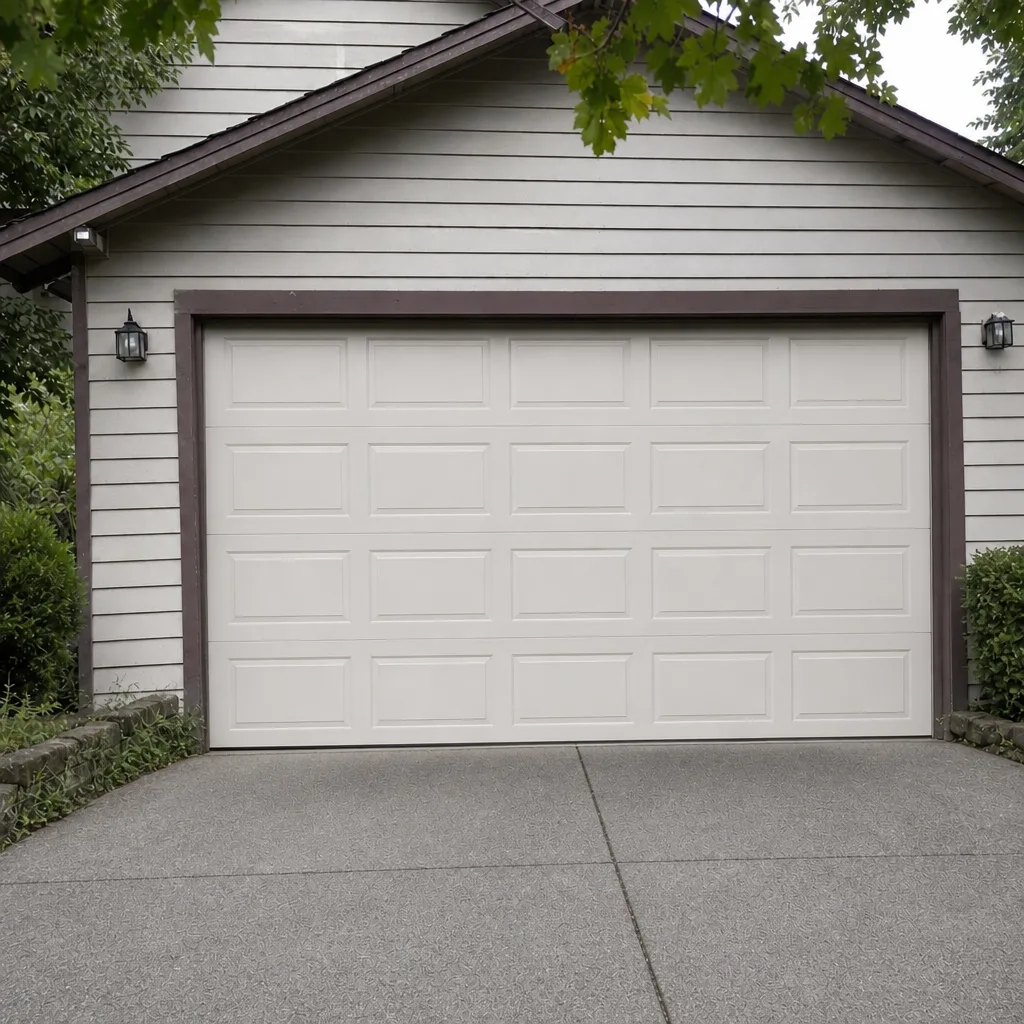 After
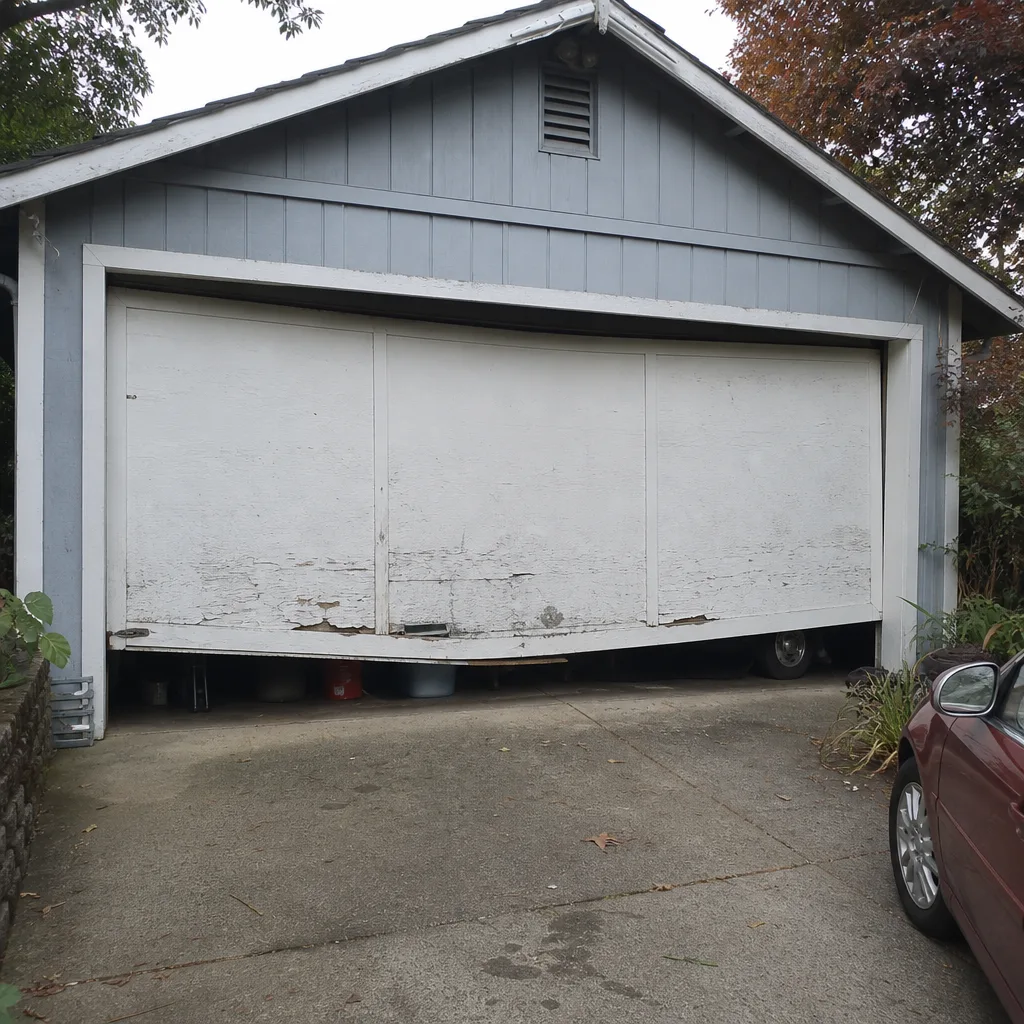 Before
 After
 Before
 After